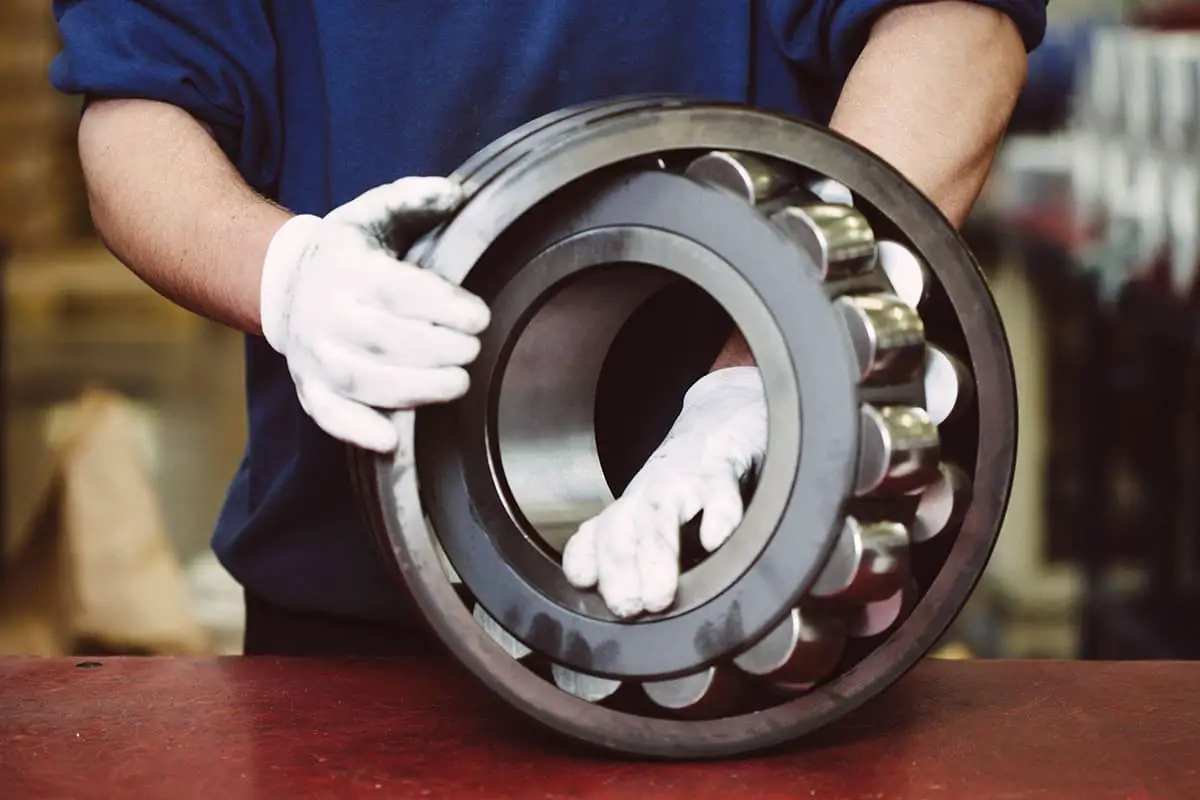
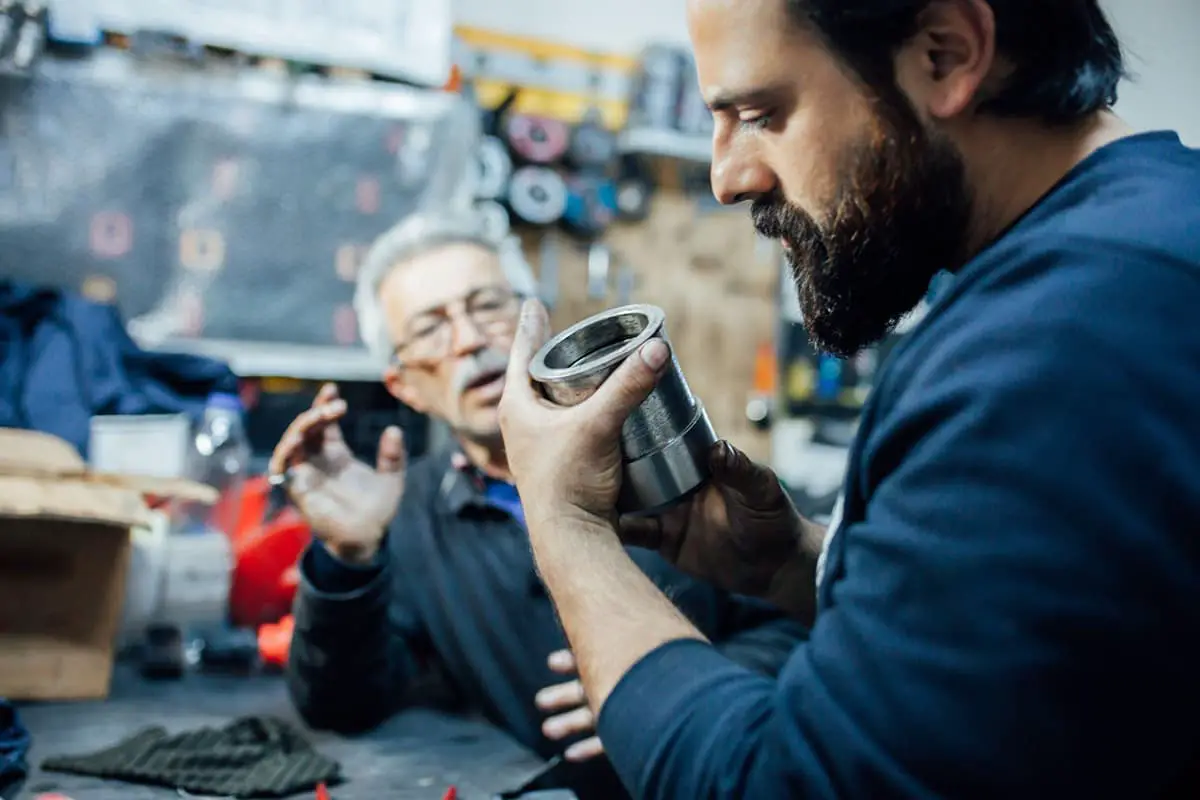
7 Essential Tips for Installing Common Types of Bearings
Ever wondered how to flawlessly install bearings? Ensuring the longevity and performance of your machinery hinges on proper bearing installation. This guide covers essential tips for installing various types of bearings, from deep groove ball bearings to thrust ball bearings. You’ll learn critical techniques like proper heating methods, correct force distribution, and effective storage practices. Dive in to master these installation strategies and keep your machinery running smoothly.
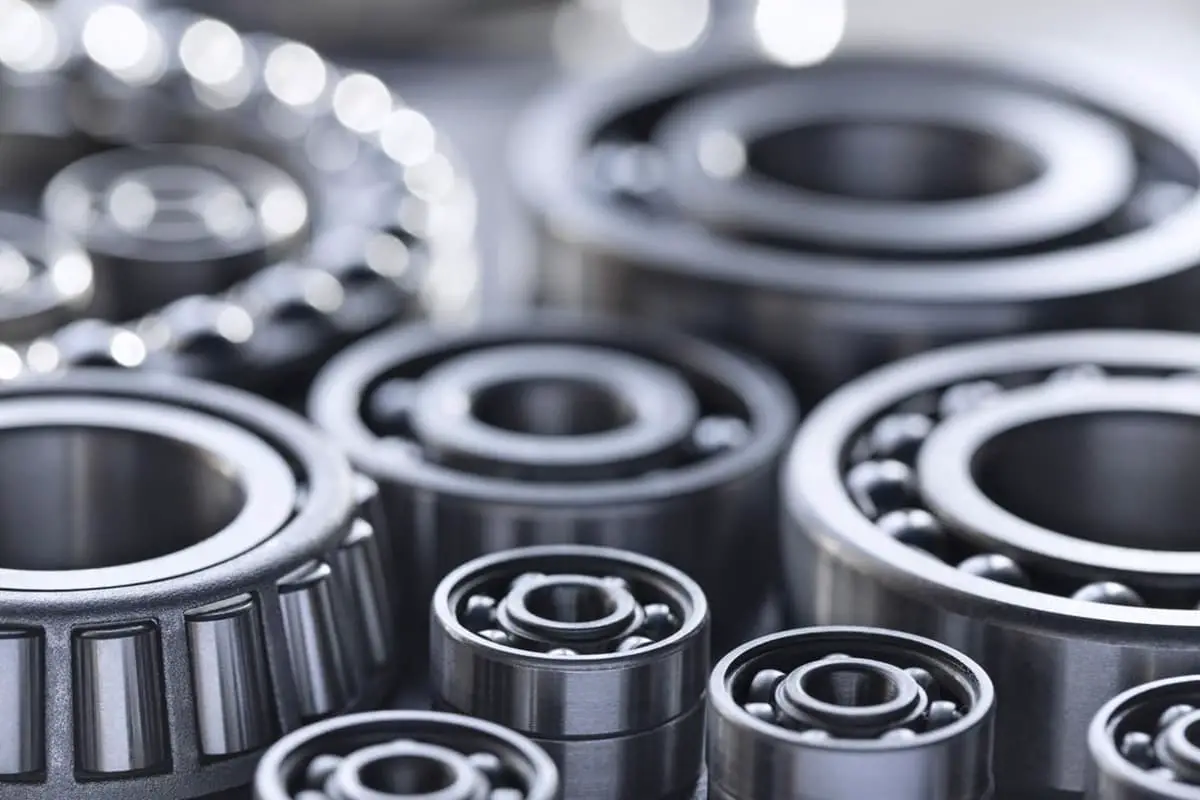
Main types of bearings include: deep groove ball bearings, angular contact ball bearings, self-aligning roller bearings, thrust self-aligning roller bearings, cylindrical roller bearings, and thrust ball bearings.
I. Deep Groove Ball Bearing Installation Instructions:
When installing bearings, ensure even distribution of force; do not directly hammer. If the fit is too tight, heat the bearing in an automatic air furnace or oil furnace, maintaining the temperature strictly below 120°C.
Bearings with nylon cages can operate stably and continuously between -40°C and 120°C. Working above 150°C should not exceed 4 hours, with short-term temperature spikes not exceeding 180°C.
Bearings should be stored in a clean, dry room, kept separate from chemical products, with relative humidity below 65%. Do not store bearings directly on the ground.
Bearings in stock should be cleaned and repackaged to prevent rust every year.
II. Angular Contact Ball Bearing Installation Instructions:
When installing bearings, ensure even distribution of force; do not directly hammer. If the fit is too tight, heat the bearing in an automatic air furnace or oil furnace, keeping the temperature strictly below 100°C.
Bearings with nylon cages can operate stably and continuously between -40°C and 120°C. Working above 150°C should not exceed 4 hours, with temporary temperature spikes reaching up to 180°C.
Bearings should be stored in a clean, dry room, kept separate from chemical products, with relative humidity below 65%. Do not store bearings directly on the ground.
III. Self-Aligning Roller Bearing Installation Instructions:
Users should choose appropriate fittings and radial clearance of bearings according to usage requirements. Verify bearing codes upon unpacking.
Before installing the bearing, if grease is required, it must be clean and applied in moderation.
During installation, avoid directly hammering the inner and outer ring surfaces and rollers to prevent damage or cracking.
Typically, bearings should be heated in mineral oil to 90°C-100°C and then immediately mounted on the spindle.
Avoid using localized flame heating on bearings. If “hot installation” is challenging, use specialized fitting tools.
During bearing operation, maintain proper sealing and lubrication. Ensure continuous lubrication.
Store bearings in a clean, dry place without environmental contamination. Bearings should not be stored directly on the ground. If in stock for over a year, clean and re-lubricate them.
IV. Thrust Self-Aligning Roller Bearing Installation Instructions:
When installing the bearing, clean the bearing seal and apply high-quality lubricant.
When installing bearings, ensure even distribution of force; do not hammer. If the fit is tight, heat the bearing in mineral oil to 90°C-100°C before installation.
Bearings should be stored in a clean, dry environment with relative humidity below 65%.
Stored bearings should be cleaned and lubricated every year, ensuring the sealing packaging remains intact.
When using bearings, maintain a robust sealing and dust protection mechanism and frequently check their operational status.
V. Cylindrical Roller Bearing Installation Instructions:
This bearing is separable; users can adjust the clearance as needed during installation.
Before use, clean the bearing with gasoline or kerosene and ensure proper lubrication.
When installing the bearing, press it into the component; do not strike it.
Store bearings in a clean, well-ventilated place, avoiding moisture. For long-term storage, regularly prevent rust.
VI. Thrust Ball Bearing Installation Instructions:
When installing the bearing, remove the bearing seal, clean, and apply high-quality lubricant.
When installing bearings, ensure even distribution of force; do not hammer. If the fit is tight, heat the bearing in mineral oil to 90°C-100°C before installation.
Bearings should be stored in a clean, dry environment with relative humidity below 65%.
Stored bearings should be cleaned and lubricated every year, ensuring the sealing packaging remains intact.
When using bearings, maintain a robust sealing and dust protection mechanism and frequently check their operational status.
VII. Introduction to Basic Installation Requirements of Four-Row Tapered Roller Bearings
Basic installation requirements:
The installation should be performed by specially trained personnel. Inspect the form and positional tolerance of the bearing mating surfaces. Ensure the installation site is clean. Only after all preparations are complete, open the bearing packaging, and do not remove the rust-preventative oil from the bearing.
Bearing Assembly Configuration Upon opening the bearing package, avoid removing the rust-preventative oil. Examine the bearing assembly to ensure its completeness, consistent manufacturing year, and that production serial numbers and installation sequences are alphabetically indicated. Bearing mating surfaces should have four load zones marked every 90° (from I to IV). Mark the load zones on the outer diameter of the outer ring, beyond the axial etching line.
Bearing Mating Surface To prevent frictional corrosion between the journal and bearing seat mating surface, apply a thin layer of assembly paste. Use bolts to fix the roller’s end cover onto the bearing seat, positioning the bearing seat with its opening facing upwards on a flat support.
Open Bearings Initially, with the E end facing downwards, lift the outer ring D-E and the outer spacer D, and place them inside the bearing seat. Then, in the given sequence, lift and place the other components into the bearing seat. Ensure alignment of the load zones. Subsequent components must fully contact the previous ones without any tilt or misalignment.
Installation of Open Bearings with Stamped Retainers For bearings with stamped retainers, place the inner ring E-Ce flat on a support (with the E end facing down). Then, following the correct sequence, position each component individually. Use a lifting device to install the complete bearing assembly into the bearing seat, ensuring Load Zone I aligns properly. For bearings with pin-type retainers, place the inner ring E-Ce (E end facing down), inner spacer C (with the locating edge facing down), double-row outer ring B-D, and outer spacer B into the bearing seat. For the pin-type retainer bearing, install the inner ring A-Ca and the single-row outer ring A-B into the bearing seat. Ensure Load Zone I aligns correctly. The pin-type retainer bearing can be installed using a lifting device similar to that used for stamped retainer bearings.
Installation of Sealed Bearings Use a specialized lifting device to install the sealed tapered roller bearing. Assemble the bearing components on the lifting device in the given sequence. Firstly, install the sealing ring E. When installing grease-lubricated bearings, manually lubricate the rollers and the retainer combination. Ensure Load Zone I is properly aligned and install the assembled bearing into the bearing seat.
Rotating Bearings Gently install the second end cover onto the bearing seat using four bolts in symmetrical positions around the circumference (do not tighten the bolts). Rotate the bearing seat to a horizontal position. Use a rod to fix the fixture onto the inner ring’s end face. Initially, apply light pressure; the fixture should only touch the inner ring’s end face. For sealed bearings, the lifting device also functions as the fixture. Gradually tighten the rods and end cover bolts, rotating the inner ring slowly until it fully matches the inner spacer C. Measure the gap ‘S’ between the end cover and bearing seat using a feeler gauge to determine the seal thickness ‘B’. For rigid seals, B=S-(0.05 to 0.1)mm. For elastic seals, B=1.2Smm.
Seal Installation Loosen the end cover bolts, remove the end cover, and insert the required thickness of the seal. Apply lubricant to the inner ring hole, completing the installation.
Installation in an Oil Bath of the Labyrinth Sealing Ring Heat the labyrinth sealing ring in an oil bath, then push the labyrinth sealing ring and the O-ring onto the journal. During the cooling process of the labyrinth sealing ring, it must be firmly pressed against the roller end face.
Maintenance and Bearing Seat Installation Push the assembled bearing seat onto the journal. Periodically inspect the effectiveness of the bearing seat seal and the bearing temperature. After 1000-1200 hours of bearing operation, switch the bearing load zone. Record all bearing maintenance and inspection work on the rolling bearing inspection card. To switch the bearing load zone, disassemble the bearing in the reverse order of its assembly, clean the bearing components thoroughly, immediately apply oil, visually inspect the raceways and rollers for damage, check the axial clearance, repack the bearing with new grease, install it according to the instructions, and move to the next load zone. For the first load zone switch, rotate the outer ring 180° to Load Zone III; for the second, rotate 90° to Load Zone IV; and for the third, rotate 180° to II.
For sealed tapered roller bearings, conduct supplemental inspections at 300h, 600h, and 900h of bearing operation by following these steps:
Remove the bearing seat and end cover to inspect the amount and condition of grease inside the bearing and labyrinth seal. If the grease is discolored or contaminated, refill the bearing and labyrinth seal with new grease. Carefully inspect the bearing seal, replacing it even for minor damages. Record all bearing maintenance and inspection work on the rolling bearing inspection card.”
As the founder of MachineMFG, I have dedicated over a decade of my career to the metalworking industry. My extensive experience has allowed me to become an expert in the fields of sheet metal fabrication, machining, mechanical engineering, and machine tools for metals. I am constantly thinking, reading, and writing about these subjects, constantly striving to stay at the forefront of my field. Let my knowledge and expertise be an asset to your business.
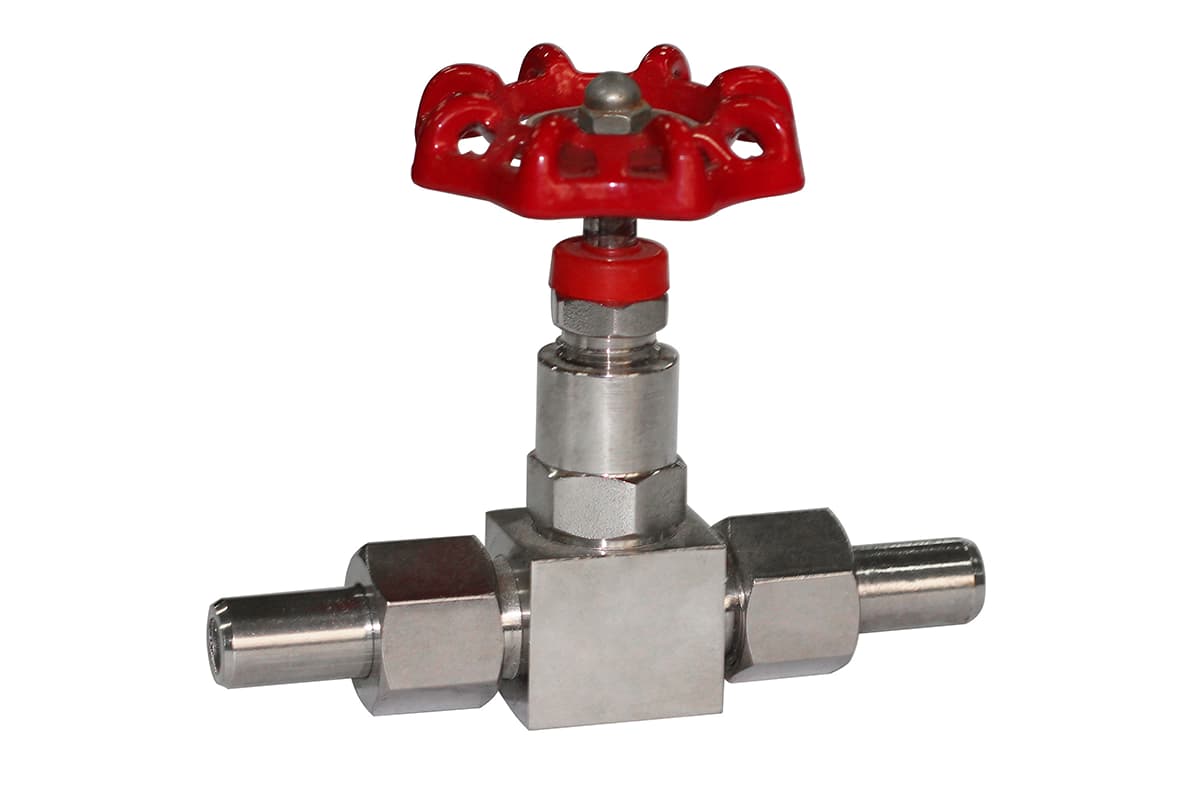
How can you precisely control the flow of liquids or gases in your machinery? The answer lies in the needle valve, a small yet essential component in many industrial applications.…
Have you ever wondered how critical equipment in high-pressure environments maintains reliable operation? Dry gas seals are the unsung heroes that ensure smooth functioning and prevent leakage. In this article,…
Ever wondered why some hydraulic cylinders last longer than others? The secret lies in the seals on the piston. In this article, you'll learn how different seals impact performance and…
Ever wondered how to pick the perfect motor for your project? The key lies in understanding the types of motors—DC, asynchronous, and synchronous—and their unique advantages. This article breaks down…
Why do motor bearings get so hot, and what can be done about it? This article dives into the causes of motor bearing heat generation, from excessive loads and poor…
Have you ever thought that too much of a good thing could be harmful? Over-lubrication in bearings is one such scenario where excess can spell disaster. This article explains how…
Have you ever wondered how to pinpoint the exact source of that mysterious noise coming from your motor? This article dives into practical methods for identifying motor bearing noise using…
What makes the right bearing crucial for machine performance? Selecting a bearing involves considering space constraints, load capacity, rotation speed, accuracy, rigidity, and noise levels. This article dives into the…
How can you prevent your molds from cracking during heat treatment? This article dives into the intricate process of mold heat treatment, outlining common defects like quenching cracks and insufficient…