How to Operate a Duct Elbow Machine: Step-by-Step Guide
Curious about mastering the duct elbow machine? This guide will show you how to operate it efficiently and safely. You’ll learn the machine’s structure, the step-by-step process of forming and joining round ducts, and essential maintenance tips. Whether you’re a seasoned professional or new to the field, this article provides the crucial insights you need to optimize your metalworking skills and ensure durable, high-quality results. Dive in to discover the key to perfect duct elbows!
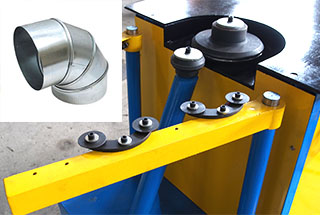
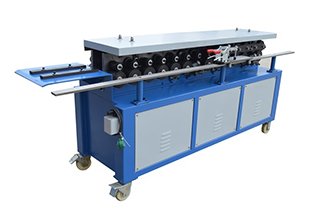
The round duct elbow locking machine manufactured by our company is a specialized piece of equipment designed for processing the locking of sheet metal round pipes and duct elbows (shrimp bends).
The metal round tubes can produce two types of beads by adjusting the special washers under a set of rollers. These beads can then be connected on the other set of rollers, forming a seamless joint.
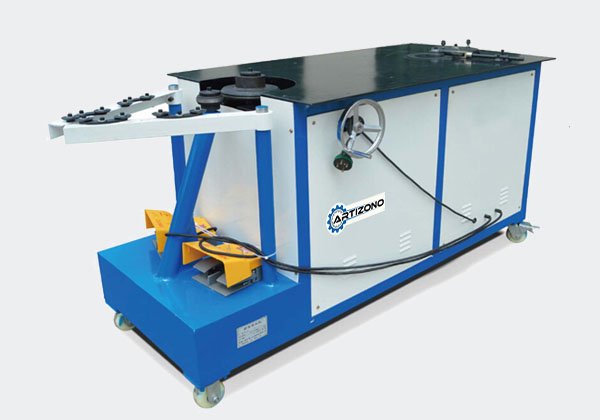
The round tube elbow locking machine has a well-designed structure, providing stable and efficient performance. It is easy to operate and has accurate size and angle specifications. The air duct after locking is securely sealed, ensuring durability.
Our company offers two models of the round tube elbow locking machine, the XMWT-700 and XMWT-1000, each designed to meet specific processing capacities and ranges. Both models feature two independent drive systems, allowing each set of rollers to be operated separately. This enables two people to simultaneously complete the bead pressing and joining process.
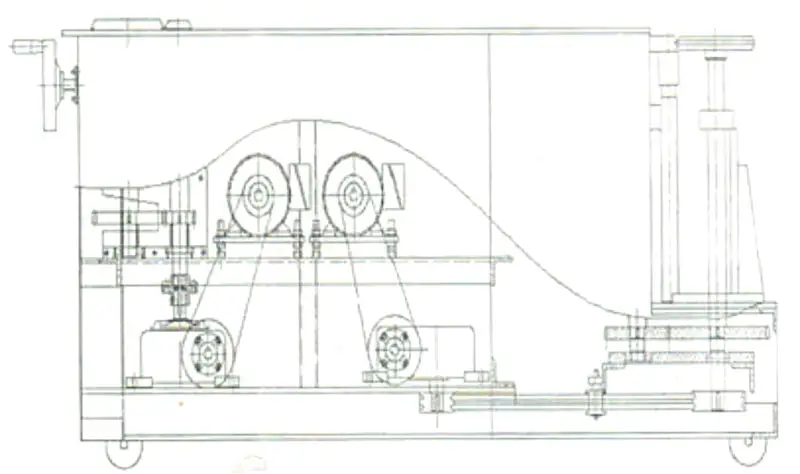
The machine frame is made of angle steel and steel plate, which are welded and assembled for optimal rigidity. The surface of the work table has a chrome plating for durability and easy maintenance.
Transmission Mechanism:
The machine is equipped with two sets of independent transmission mechanisms. Each mechanism is comprised of two rolling machines, a top-quality V-belt, a primary worm gear, and a primary gear transmission.
Working Device:
When forming the bead, the machine has two rollers and one positioning wheel. For connecting the beads, it has two rollers and four arm support rollers.
Operating Device:
The machine is equipped with a foot-operated electric switch to control the direction of the roller rotation and an adjustment hand wheel to control the roller feed.
Operation of the Elbow Machine
(I) Operation instructions
Before starting the operation, select the appropriate roller and pad based on the thickness of the sheet metal and the diameter of the pipe.
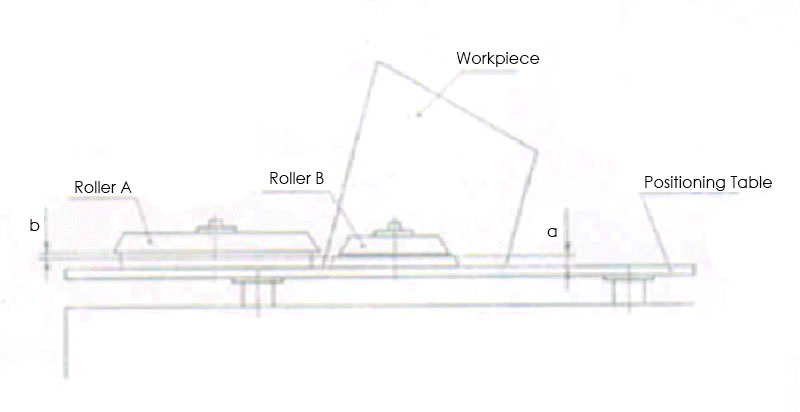
Before rolling the bead, adjust the distance (a) between roller B and the positioning worktable. There are two types of bead shapes that can be formed by rollers A and B, respectively.
Typically, when forming the bead, a should be set to approximately 4-8 mm. The distance between lock surface A and B (b) should be set to approximately the sheet thickness plus 0.2mm. The value of a is typically set to 4mm when the machine is delivered from the factory to produce the desired bead shape. The gap b of the locking surface of A and B is adjusted based on the gap of a sheet with a thickness of 0.8 mm.
Note: The height of rollers A and B can be adjusted by turning the round nuts mounted on the main shaft under the rollers.
When producing the bead, it is necessary to install a gasket with a thickness of 4 mm or 5 mm (for sheets with a thickness of 0.8 mm or above) under rollers A and B. The gasket with a thickness of 4 mm or 5 mm can be attached randomly.
(II) Operation methods
When starting, check that the roller’s direction of rotation is correct. Ensure that the roller rotates in the direction indicated (Roller A rotates counterclockwise).
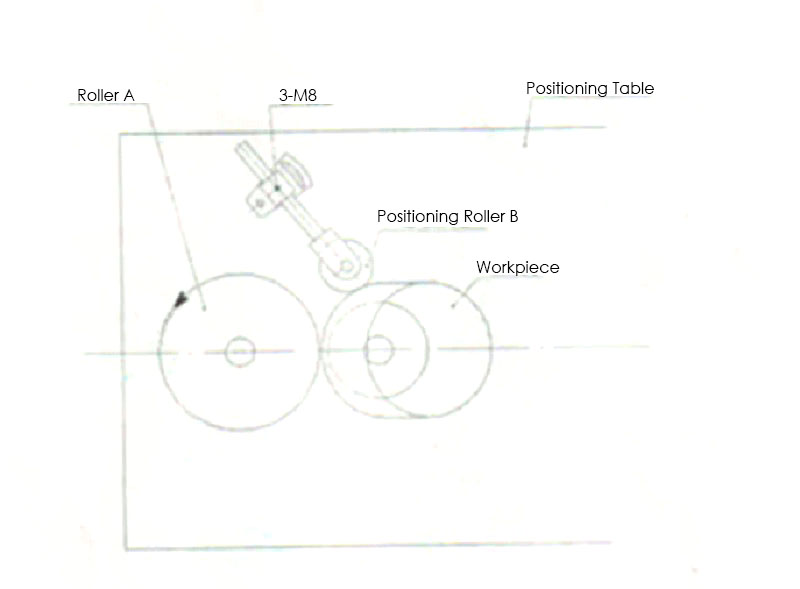
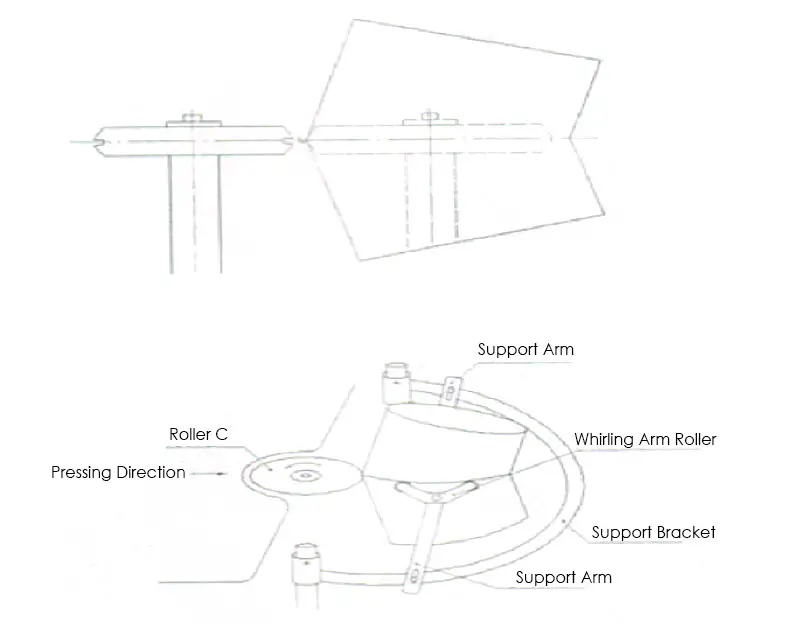
When performing the forming process, position the workpiece on the positioning table. Adjust the 3-M8 screw on the positioning table so that the positioning wheel adheres to the workpiece (as shown in Figure 4) to regulate the swing range of the workpiece during rotation.
To form the workpiece, gently press the top of the feeding side by hand to make the bottom edge of the workpiece meet the positioning table. Then, turn the handwheel to slowly press roller B with roller A until the desired form is achieved.
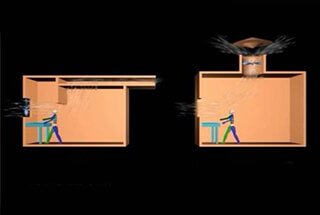
When connecting round ducts, insert one end of the round tube into the bead of the other tube and secure the two beads at several diagonal points using a hammer or wire cutter. Then, place it between the second set of rollers and turn the handwheel so that the roller gently presses the seam.
Adjust the height of the support frame and position of the two support arms. Use the whirling arm roller on the support arm to keep the connecting seam level and allow the round duct to rotate smoothly without falling off during the joining process.
After starting, turn the handwheel slowly to press roller C against the other roller, creating a press-formed interface.
Precautions for Use
The operator should have a good understanding of the basic principles and proper usage of the elbow.
Before starting work, inspect the clearance of each adjustable component to ensure it is reasonable. Conduct a test run to check if the machine is running smoothly and if the wheel rotation direction is correct.
The movable parts of the machine must always be kept clean and lubricated with the appropriate oil or grease.
The material to be rolled must be cleaned to remove any debris such as sand or iron filings, to prevent damage to the roller.
The workpiece thickness should not exceed the machine’s maximum allowed thickness to avoid damaging the machine.
If any abnormal behavior is observed during operation, stop the machine immediately and conduct an inspection to identify the issue and prevent further damage.
The gearbox must have a sufficient oil level and be regularly lubricated with the appropriate oil adapted to the local environment.
The machine must be properly grounded, and maintenance and adjustment work should only be performed with the power off and the machine shut down.
Maintenance and installation
Maintenance
It is important to regularly add calcium-based grease to each bearing or gear to maintain their proper functioning. However, avoid adding oil to the roller to prevent material slippage.
To protect the wheel and maintain the quality of the processing, be sure to regularly remove any dirt, such as iron filings, from the surface of the roller.
Additionally, it is important to regularly check the tightness of the V-belt and make necessary adjustments to ensure it remains secure.
Installation
The elbow machine has minimal requirements for the workplace and can be placed on a relatively flat cement floor. This makes it suitable for use both in a factory setting and at installation sites.
As the founder of MachineMFG, I have dedicated over a decade of my career to the metalworking industry. My extensive experience has allowed me to become an expert in the fields of sheet metal fabrication, machining, mechanical engineering, and machine tools for metals. I am constantly thinking, reading, and writing about these subjects, constantly striving to stay at the forefront of my field. Let my knowledge and expertise be an asset to your business.
Have you ever wondered how those massive air ducts in buildings are made? This article dives into the fascinating world of spiral duct machines. These machines are crucial for creating…
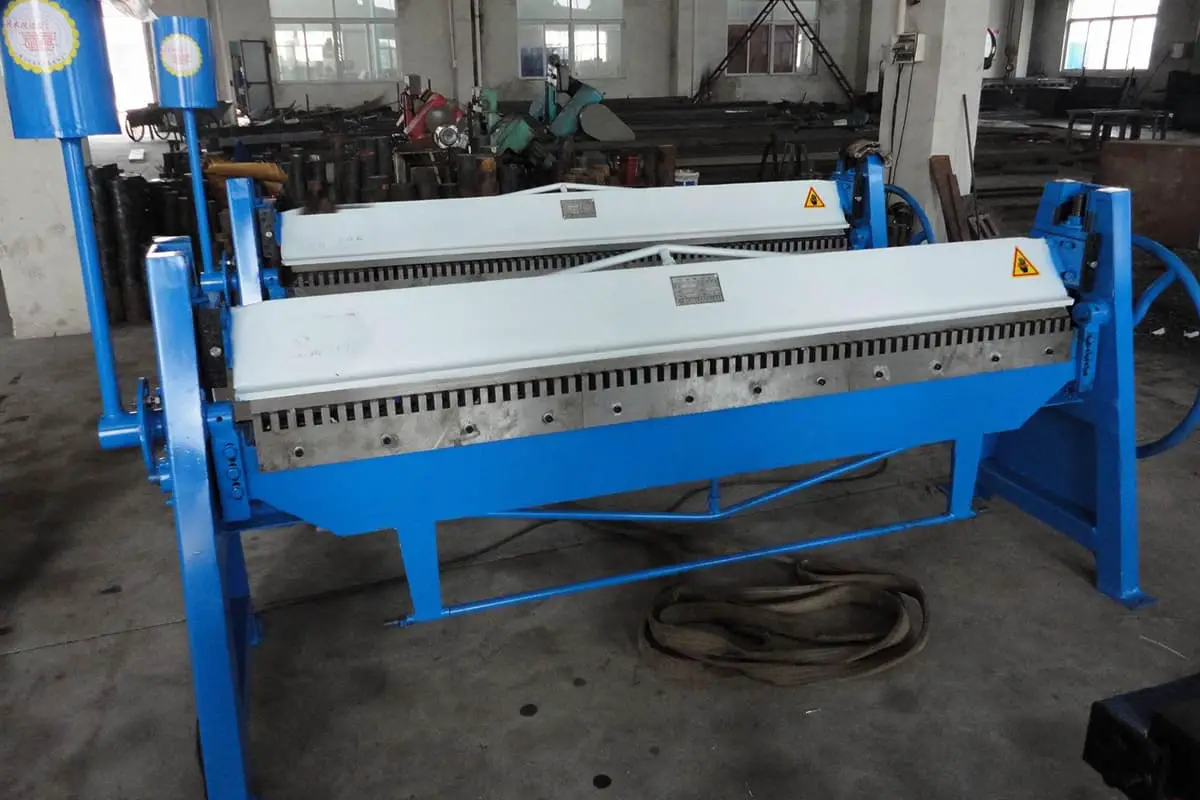
Have you ever struggled with achieving precise bends in sheet metal? This article demystifies the manual folding machine, a versatile tool essential for bending steel and nonferrous metals. By reading,…
Ever wondered how air ducts are made with precision and efficiency? The TDF flange forming machine is your answer. This article will guide you through its operation, highlighting the machine's…
Have you ever wondered why the air inside your home feels stuffy or even unhealthy? This article explores the crucial role of ventilation systems in maintaining indoor air quality. You'll…

