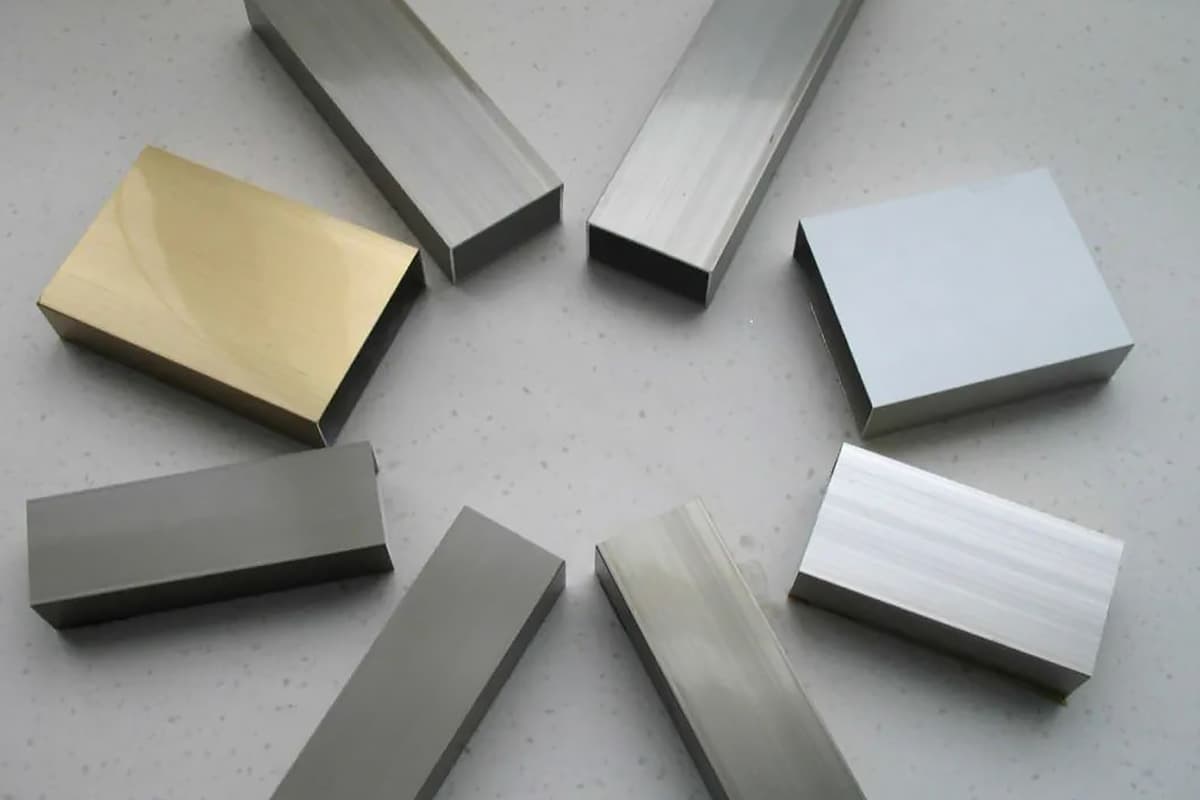
13 Aluminum Surface Treatment Methods
Have you ever wondered how the sleek finish on your smartphone or the shiny surface of your laptop is achieved? This article explores the fascinating world of aluminum alloy surface…
In today’s fast-paced manufacturing world, efficient deburring is crucial. With numerous methods available, choosing the right one can be daunting. In this blog post, we’ll explore various deburring techniques, from manual filing to advanced ultrasonic and magnetic processes. Discover the advantages and limitations of each method, empowering you to select the optimal solution for your specific application. Let’s dive in and uncover the secrets to achieving smooth, burr-free surfaces!
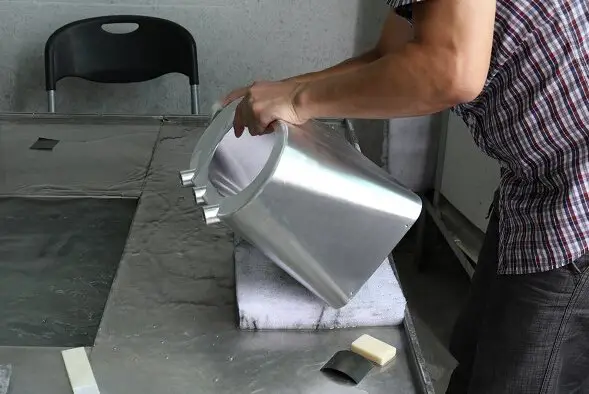
Manual deburring involves the removal of burrs using tools such as files, sandpaper, and polishing tools. This method is straightforward and does not demand a high level of technical skill from the worker, making it suitable for products with small burrs and simple structures. Consequently, it is widely adopted in many businesses for burr removal.
There are two main types of files used in manual deburring:
Deburring, the process of removing unwanted burrs or sharp edges from metal parts, can be effectively accomplished using a punch mold in a punching machine. This method leverages the precision and efficiency of punching dies to achieve high-quality deburring results.
A punching die setup for deburring typically involves the use of both rough and fine blanking dies. These dies work in tandem to first remove the bulk of the burrs (rough blanking) and then refine the edges to the desired smoothness (fine blanking). In some cases, a sizing die may also be employed to ensure that the final dimensions of the part are accurate and consistent.
This deburring method is particularly suitable for aluminum alloy die castings with simple parting surfaces. The efficiency and deburring effect achieved with punching dies are superior to manual methods, making it an ideal choice for parts that require high precision and consistency.
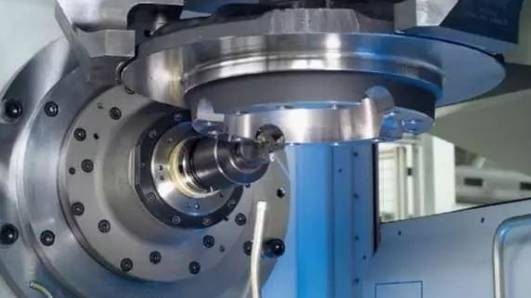
Deburring by grinding is a common method used to remove burrs from metal parts, particularly in the context of aluminum alloy die castings. This process involves the use of abrasive materials to smooth out and remove unwanted edges or protrusions that are left on the parts after machining or casting. The grinding process can be performed using various techniques, including vibration, sandblasting, and roller methods.
Deburring by freezing, also known as cryogenic deburring, is a specialized process used to remove burrs from workpieces by utilizing extremely low temperatures. This method involves the following steps:
The cost of the necessary equipment for cryogenic deburring can be substantial. The price range for such equipment typically falls between 30,000 to 40,000 USD. This investment includes the cryogenic system, pellet blasting equipment, and safety measures required for handling cryogenic materials.
Cryogenic deburring is particularly suitable for:
No additional external system analysis is required for this method, as the process is self-contained and does not rely on external systems beyond the cryogenic and pellet blasting equipment.
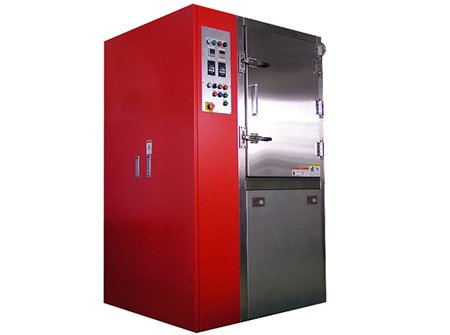
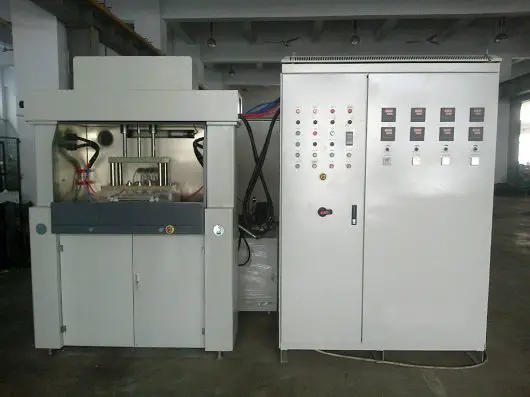
Thermal deburring, also known as explosion deburring, is a specialized method used to remove burrs from precision parts. This technique involves introducing a combustible gas mixture into a furnace and igniting it to create a controlled explosion. The intense heat generated by the explosion effectively burns away the burrs, leaving the part with a clean finish.
This method is predominantly used in industries that demand high precision, such as automotive and aerospace sectors. These industries often deal with complex components that require meticulous finishing to ensure optimal performance and safety.
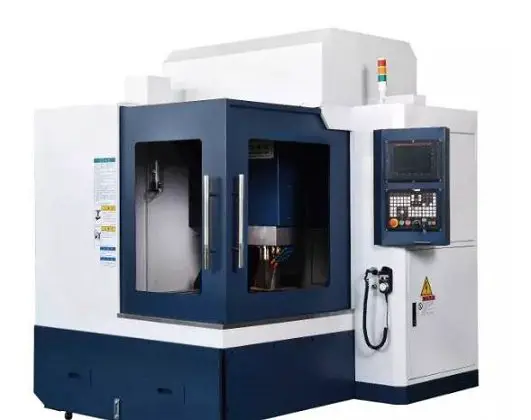
Deburring is a crucial process in manufacturing, especially in the production of metal parts where burrs—unwanted raised edges or small pieces of material—can affect the functionality and safety of the final product. One effective method of deburring is using an engraving machine.
Using an engraving machine for deburring is a cost-effective solution. The initial investment for such a machine typically ranges from several thousand to tens of thousands of dollars, depending on the machine’s capabilities and features. This investment can be justified by the machine’s efficiency and precision in removing burrs, leading to reduced manual labor and improved product quality.
This method is particularly suitable for removing burrs from products with simple spatial structures and regular burr removal positions. The engraving machine can be programmed to follow specific paths, making it ideal for parts where burrs are consistently located in predictable areas.
While engraving machines are highly effective for certain applications, they may not be suitable for parts with complex geometries or irregular burr locations. In such cases, alternative deburring methods, such as manual deburring or using specialized deburring tools, might be more appropriate.
Chemical deburring, also known as electrochemical deburring (ECD), is a process that leverages the principles of electrochemical reactions to selectively and automatically remove burrs from metal components. This method is particularly effective for addressing internal burrs that are difficult to access and remove through mechanical means.
In chemical deburring, the workpiece is submerged in an electrolytic solution, and an electrical current is applied. The burrs, being the most exposed and least supported parts of the metal, dissolve preferentially due to the electrochemical reaction. This process is highly controlled and can be automated, making it suitable for high-precision applications.
Chemical deburring is especially beneficial for components with intricate internal geometries where traditional deburring methods might struggle. It is commonly used for:
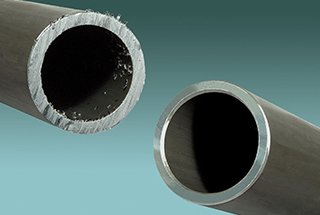
This method is appropriate for removing internal burrs that are challenging to access and small burrs with a thickness less than 7 wires (approximately 0.178 mm). It is particularly effective for components such as:

Electrolytic deburring is a method of removing burrs from metal parts through the process of electrolysis. This technique is particularly effective for removing burrs in concealed parts of the workpiece and complex shapes, and it is known for its high production efficiency, with operations typically taking only a few seconds to several tens of seconds.
In electrolytic deburring, the workpiece is submerged in an electrolyte solution, and an electrical current is passed through the solution. The burrs, being the most protruding parts, are preferentially dissolved due to the higher current density at these points. This results in the removal of the burrs without significant material loss from the rest of the workpiece.
Electrolytic deburring is suitable for a wide range of applications, including:
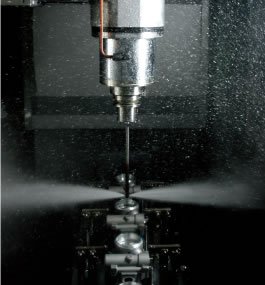
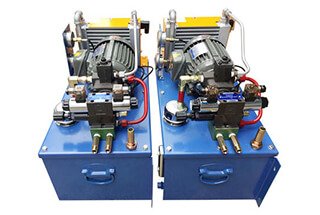
High-pressure water jet deburring is a method that utilizes the instantaneous impact of high-pressure water to remove burrs and flying edges from workpieces. This technique is particularly effective for cleaning purposes, ensuring that the final product is free from unwanted material and imperfections.
The equipment used for high-pressure water jet deburring is highly sophisticated and, consequently, quite expensive. Due to its cost, this method is primarily employed in industries where precision and cleanliness are paramount, such as the automotive sector and the hydraulic control systems of engineering machinery.
High-pressure water jet deburring is mainly used for:
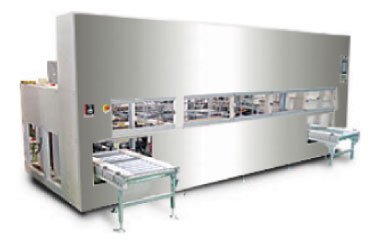
Ultrasonic deburring is a highly effective method for removing burrs from intricate and hard-to-reach areas, particularly in holes where conventional vibration grinding may struggle. This technique leverages high-frequency ultrasonic vibrations to enhance the deburring process, ensuring precision and efficiency.
The abrasive flow machining (AFM) process is a complementary technique that involves pushing abrasives through two opposing abrasive cylinders. This action causes the abrasives to flow back and forth within the channel formed by the workpiece and fixture, effectively grinding and smoothing the surfaces.
The grinding effect in AFM is produced as the abrasive media enters and flows through restricted areas, targeting burrs and other surface imperfections. The process is highly controlled and can be fine-tuned to achieve the desired surface finish.
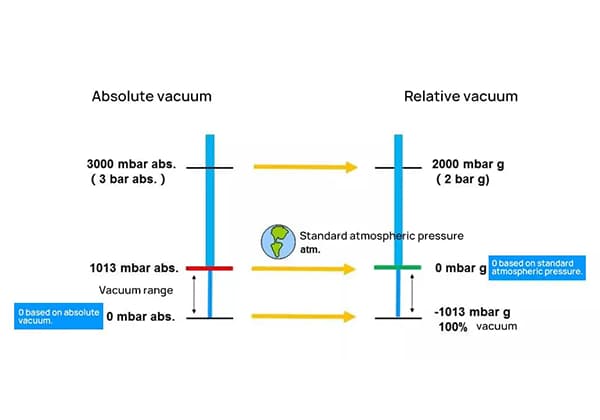
One of the key advantages of AFM is the ability to adjust the extrusion pressure within a wide range of 7-200 bar (100-3000 psi). This flexibility allows the process to be tailored for various stroke lengths and cycle times, making it suitable for a broad spectrum of applications.
AFM is particularly effective for handling microporous burrs as small as 0.35mm. Its fluid characteristics enable it to reach and remove burrs in complex and hard-to-access positions without creating secondary burrs. This makes it an ideal choice for precision components in industries such as aerospace, automotive, and medical devices.
Abrasive flow deburring is a specialized process designed to remove burrs from intricate and hard-to-reach areas of a workpiece, particularly where conventional methods like vibration grinding fall short, such as in holes and internal passages.
The typical abrasive flow machining (AFM) process, often referred to as two-way flow, involves pushing a semi-solid abrasive media through a workpiece. This media flows back and forth between two vertically opposite abrasive cylinders. The workpiece and fixture create a channel through which the abrasive media is forced to flow.
As the abrasive media enters and flows through restricted areas within the workpiece, it exerts a grinding effect. This action effectively removes burrs and smooths out surface irregularities. The extrusion pressure applied during this process is meticulously controlled, ranging from 7 to 200 bar (100 to 3000 psi). This wide range of pressure settings allows the process to be tailored to different stroke lengths and cycle times, accommodating various workpiece requirements.
Abrasive flow deburring is ideal for components that require precise and thorough deburring, such as:
Magnetic Abrasive Machining (MAM) is an advanced finishing process that utilizes strong magnetic fields to manipulate magnetic abrasive particles. These particles align along the magnetic lines of force, creating an “abrasive brush” that exerts pressure on the surface of the workpiece. This technique is particularly effective for deburring and polishing complex geometries and hard-to-reach areas.
Several factors influence the effectiveness and efficiency of the magnetic abrasive machining process:
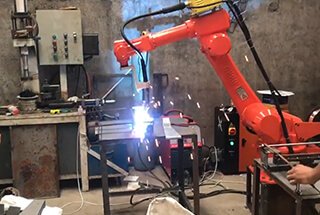
The principle behind robot deburring is fundamentally similar to manual deburring, with the primary distinction being the use of a robot to perform the task. This automation leverages advanced programming and force control technologies to achieve precise and consistent results.
Robot deburring offers several significant advantages over manual deburring:
The integration of programming technology and force control in robot deburring allows for flexible grinding. This flexibility enables the robot to adjust pressure and speed dynamically, ensuring optimal performance across various tasks and materials.
Deburring milling parts can be particularly complex and costly due to the formation of multiple burrs in different positions and sizes. In such scenarios, it is crucial to select the correct process parameters to minimize the size and impact of the burrs. Proper parameter selection ensures efficient burr removal while maintaining the integrity of the part.
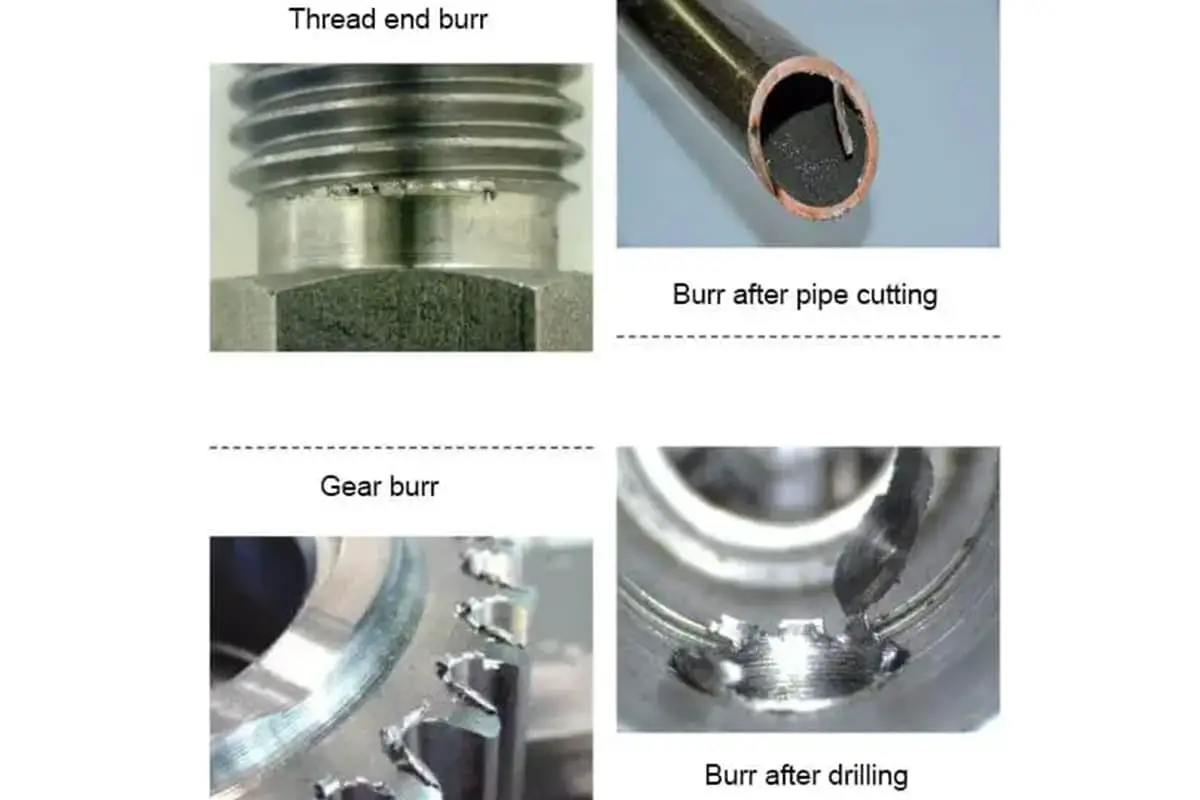
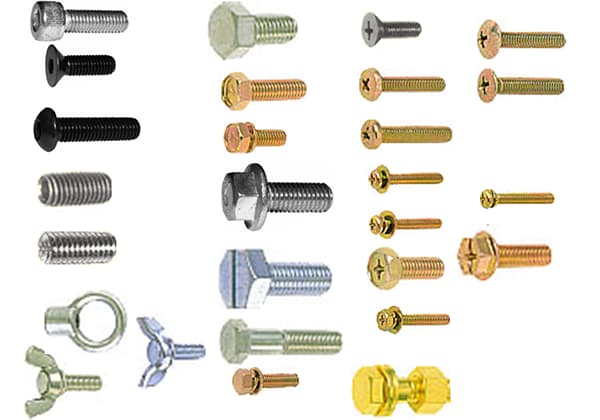
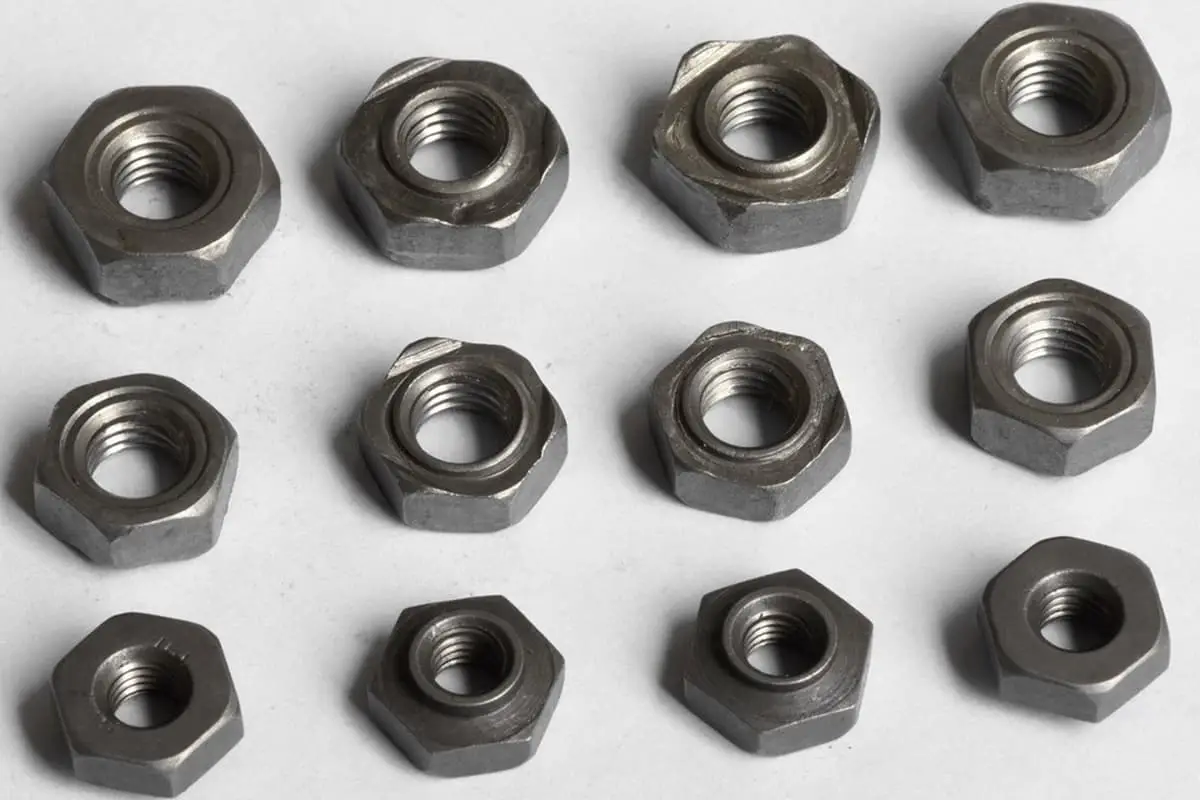
Metal burrs are small, unwanted projections of material that remain on the edges or surfaces of metal workpieces after various manufacturing processes such as machining, stamping, or casting. These microscopic imperfections can significantly impact the quality, functionality, and safety of the finished parts.
The formation of burrs is a common issue in metal fabrication, occurring due to plastic deformation of the material during cutting or shearing operations. Burrs can vary in size and shape, ranging from barely visible protrusions to more substantial formations.
The presence of burrs on metal components can lead to several problems:
To address these issues, a secondary operation called deburring is often necessary. Deburring involves removing the excess material to achieve smooth edges and surfaces. This process can be performed through various methods, including manual techniques, mechanical processes, or specialized deburring machines.
It’s worth noting that deburring and edge finishing of precision parts can account for a significant portion of the overall production costs, sometimes reaching up to 30% of the finished part’s cost. Additionally, these secondary finishing operations can be challenging to automate efficiently, making burr management a persistent challenge in metal fabrication.
To minimize the impact of burrs, manufacturers often employ strategies such as:
By addressing burr formation proactively and employing effective deburring techniques, manufacturers can ensure high-quality, safe, and functional metal components for various applications.
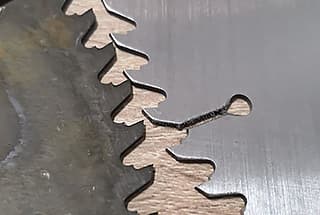
When working with metals, encountering different types of metal burrs is a common challenge. Understanding these types is crucial for effectively addressing them during the deburring process. In this section, I will discuss the metal burrs I frequently encounter.
The first type of burr I come across is a Poisson burr. This occurs when metal is folded over the edge of the adjacent surface while cutting, creating a raised and rough edge. This type of burr is usually thin and can be easily removed with a deburring tool. The name “Poisson” refers to the Poisson effect, where material deforms perpendicularly to the applied force.
Another type of burr is the rollover burr. It is formed when the metal is pushed aside during the cutting process, causing a rounded edge. The rollover burr can be more challenging to remove than the Poisson burr due to its shape, but it is possible with the correct tool and technique. This type of burr is typically seen in machining operations where the cutting tool exits the material.
The tear burr is another burr I regularly encounter. This is caused by the tearing of metal during the cutting process, resulting in a jagged and irregular edge. To remove tear burrs, I often need to use more force and a more aggressive deburring tool. Tear burrs are common in processes where the material is brittle or the cutting conditions are not optimal.
When working with sheet metal, I sometimes see breakout burrs. These are caused by the metal being fractured or ripped from the opposite side of the cutting tool’s exit point. Breakout burrs can be quite large and might need a combination of tools and techniques to properly remove them. They are often found in drilling and punching operations.
In some cases, I come across oxide burrs—also known as heat-affected burrs. These are formed when heat from the cutting process causes the metal to oxidize, creating a raised edge. Removing oxide burrs typically requires a combination of mechanical and chemical methods to ensure both the burr and the oxidation are dealt with appropriately. These burrs are common in laser cutting and other thermal cutting processes.
Finally, there are microburrs, which are small burrs that are barely visible to the naked eye. They might not seem like a big issue, but they can still cause problems if not addressed. To remove microburrs, I often use precision tools or polishing techniques. Microburrs are typically found in high-precision machining operations.
In summary, these are the different types of metal burrs I frequently encounter:
Understanding these burrs helps me to properly address them during the deburring process and ensures I produce high-quality, burr-free metal parts.

As the founder of MachineMFG, I have dedicated over a decade of my career to the metalworking industry. My extensive experience has allowed me to become an expert in the fields of sheet metal fabrication, machining, mechanical engineering, and machine tools for metals. I am constantly thinking, reading, and writing about these subjects, constantly striving to stay at the forefront of my field. Let my knowledge and expertise be an asset to your business.